Showing posts with label Card. Show all posts

Wednesday, November 02, 2022

WOYWW #700

 Another Wednesday, time for a peek at each other's desks and projects! If you would like to learn more, just go to http://www.stamping-ground.blogspot.ca/p/what-is-woyww.html. Maybe you could join our little group!


Wow! 700th post of WOYWW! Amazing!
Congratulations to Julia, our fearless leader, who started this blog hop 700 posts ago!

Here is my desk this morning:


I have discovered dot painting! And I have been dot painting some of our beautiful fall leaves, and giving them away to friends and family. The Plaster of Paris is waiting for when I have enough time to do the next step of Fodder School.
Here are some of the leaves I have painted:


This is the one I'm working on that is on my desk


And here is the card and Peace Catcher I made for my friend in Niagara Falls:


I also sent her a leaf!

Finally, the pumpkin we carved for Halloween this year, now being devoured by our many squirrels!


I wasn't able to reply to some people last week, and there were some questions about burning the holes in my paper. If I had burned the paper when it was dry, I think it would have gone up in a "woosh!" and I wouldn't be able to get the controlled burn that I got when the paper was wet, and yes it did burn very well! Cindy commented that Fodder School could be called "extreme crafting" - I agree!

That's it for today, the cats are out enjoying a beautiful fall day today! Have a great week, and meow from Inky and Mittsy!


Wednesday, June 22, 2022

WOYWW #681

  Another Wednesday, time for a peek at each other's desks and projects! If you would like to learn more, just go to http://www.stamping-ground.blogspot.ca/p/what-is-woyww.html. Maybe you could join our little group!


Hi! Happy Summer! Let the heat begin! I am looking forward to a nice hot lazy summer, now that my garage is finished - finally!

                               Ready for the car in the winter!


          This is the "working side" of the garage. I feel so much better now that it's all done.

What happened to those big green bags of junk I took out of the garage? you may ask - here's the answer! It was so gratifying to watch!

 
                                          All GONE!!!

Anyway, now for my desk this week:


I made a Father's Day card for hubby:


This is actually a stamp that he chose the last time we were in the stamp store together. "Manly" cards are not his thing, nature is! I put Pearl-x on the wings to make them shimmer, but it's hard to see in the photo.

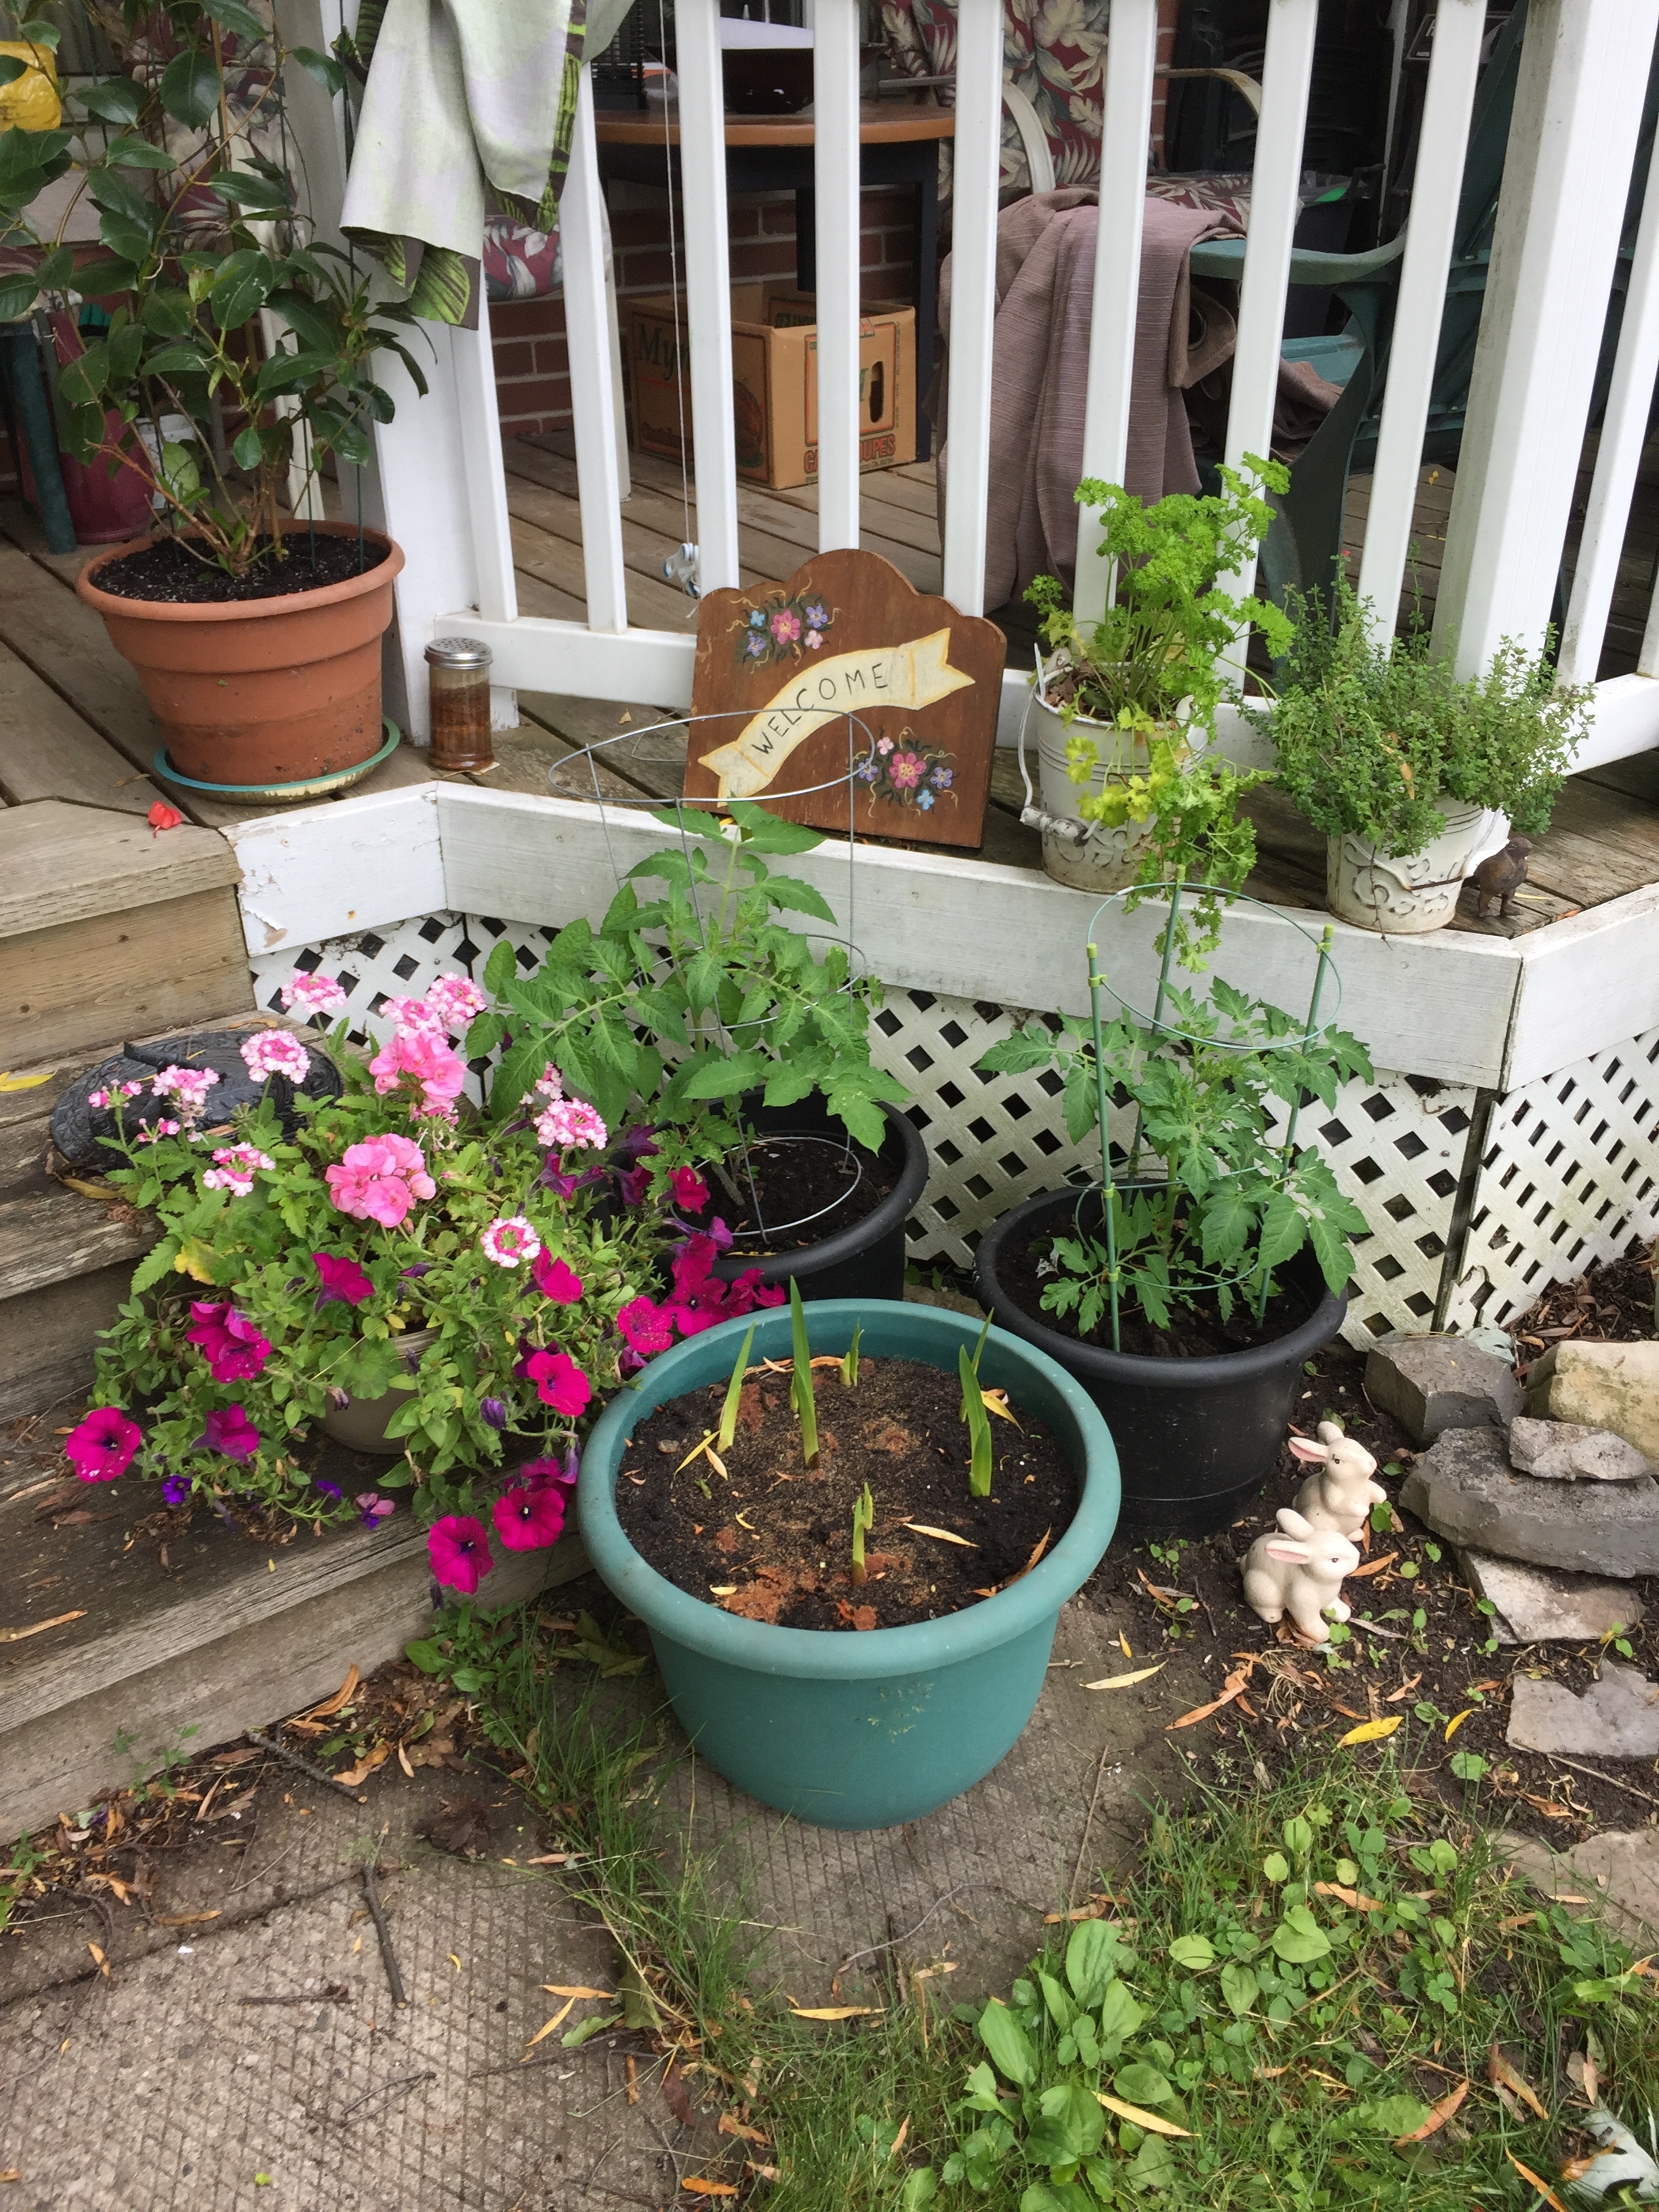
I have been able to work on my garden a bit. This is my "Perennial Garden" but only a couple of plants seem to survive each year so this year I thought I would put annuals in pots and see how that worked out. Kind of a "wild " garden look which I like!


And beside it is a pot of Gladioli that I planted, and my tomatoes. First time I've planted Glads!


I also have all my herbs in pots scattered around.

My roses are starting to bloom too!


All is good! I hope all of you are doing well too, enjoying the good weather and wonderful gardens! Have a great week, Inky and Mittsy say "meow!"


Thursday, August 23, 2012

WOYWW

Whats On Your Workspace Wednesday (or Thursday in this case!)  Click on the link on the sidebar to find out all about WOYWW and see everyone else's workspace!

Well, this is what I was actually doing on Wednesday - my DD is visiting from Toronto, so spending as much time with her as possible!

 Enjoying our local beach and the sun! This is Lake Ontario...the water was lovely (for my feet anyway!) This is a 5 minute walk from my house - one of 3 beaches!


So this morning I took these photos of my Workspace:
 My next journal page


The card I made with my new background stamp


Not a lot, but at least I am getting into my stamping room!

Thanks for looking! Next week I start back to work setting up my classroom for 2012-13. Hopefully I will find some time to relax in my stamping room!


Sunday, July 18, 2010

Mid-July

Boy this summer is going by fast - and I haven't even really had a holiday yet, despite school being over since the end of June! I have to help at the Summer camp next week again (cooking week). My DD came to visit this weekend to celebrate her dad's birthday! I love when she comes to visit!


At our favourite place for lunch - Pan Chancho!


Birthday dinner in Gananoque- CJ's escargot, spinach & goat cheese in filo appetizer!


and my low-carb dinner-Rack of lamb with ratatoullie


Happy Birthday!


My favourite flowers were on the table!


Ron's Birthday Card


I also made some "Dots" ATCs for my Art For the creative Mind group. 
We were to use heat embossing as well as dots.


The background was made with Punchinello and embossed. The bottom image is from alteredpages.com.


Here is my swap card made for my Stampscapes Group. It was a transportation swap.

Tim Holtz car and words

Well, that's it for now. Today is my last day with CJ, so I plan to enjoy it! Hope you enjoy your day too!


Monday, July 05, 2010

Long Time

Sorry I have been neglecting my blog for such a long time! I've been very busy with work, the end of the school year, and now teaching one week of Summer Camp-hopefully it will all end soon and I can have my break! But regardless, I have been making art!

This was for a bird card swap for my Art For the Creative Mind Yahoo Group. It now lives in Liverpool! I used a Club Scrap stamp that had the 3 birds on it, watercoloured the image and cut it into 3 pieces.


This is the arch I made for the 7th anniversary of the ABC Altered Book club. I will be getting about 13 more, and then I will make a book! I had fun making this, even though it took a few tries to get it right!


This is my lovely Steampunk Mona Lisa, again for a swap on AFTCM Yahoo group. She now lives in Philly! The swap was just art dolls, but steampunk was in my head because they were also doing a steampunk necklace swap that I didn't do, so I did a doll instead!


This is my page for Altered Books Canada Yahoo Group (ABCanada).
We had a Nature ATC Swap and we make an altered book page from the ATC we received. This is my page! My ATC came from Jane in Saskatchwan. The bees on the ATC are raised, so I mirrored that with my bee on the sunflower. The girl came from Dover.


And last but not least, some journal pages. Still a bit sporadic, I'm hoping for daily in the summer. Playing around with style again! Wanting to use more of my stamps that were getting very lonely.


That's it for now! Hopefully I will update before the month is over!
Thanks for looking and I always love your comments!

Sunday, May 09, 2010

Weekend Fun!


First of all, Happy Mother's Day to all my blog friends!! here is my Mother's Day card for my Mom:

Front - heart from Tim Holtz new die cut
The paper is "cloth paper" made by gluing thin pieces of napkin to a cloth base, drying, and ironing flat. I also put some shimmer mist on it and Lumiere paint. I used 3 different napkins. This piece folded over a thick card that was meant to hold 2 photos. I also stamped the leaves across the top.

Back:
Inside the card I put two photos, one of me as a child, and one of me now. It reads: 
I got all my good qualities from you, Mom
Isn't it lucky you had more than enough for both of us?  
(from the internet)

I made this card last weekend at our local stamp club annual workshop. It was one of the projects, and I think I will make this fabric-paper again, it was a lot of fun! Here are the other projects we made last weekend:
 This is the card I presented, a tri-fold card. Most of the participants were able to do 
this with not much trouble.

This is a bead doll that went with the fabric-paper card, 
but I'll find another use for it. Easy and fun!


This didn't have anything to do with stamping, but one of our members works with glass, so this was a fun out-of-the-box project. We started the day with this, let it dry and finished the day with the grouting. It's supposed to be a bird bath, but I may use it for something else. 


A "milk-carton" box. Will make a great gift box! 
We colored the white ribbon with markers then 
spritzed the ribbon with water. Nice effect!

This was a simple card to make, just put the white cs through the embossing folder, then the blue ellipse. Swipe the tops with color (I used distress inks), put it together and add dragonfly stickers to the middle.
It made a neat effect.


This one came with a circle cut from a post-it, we stuck the circle on the card
and brayered over the card with blue.
Then using yellow and purple distress ink, I added the color with a sponge.
Then stamped and embossed the mice and the reeds. Simple but effective.


This is the Sunflower card. It came already stamped with the 1/2 sunflower on each side.
We embossed the flowers with the cuttlebug and folder
after we used watercolor crayons to color the flowers. Then we cut the flowers out.

Opened up:

The inside was pre-stamped as well, I added the word BLOOM. (Michael's - $1.50!)


I bought 2 used stamps that day and used them on these metal tags.
This was fun! But you have to buy a "squisher" from Memories
to squish the metal down over the paper tag. Might get one!


We also made this very easy necklace. I used a Tim Holtz stamp and distress ink
The cover of this is raised so things can float inside.


This last one is a crayon resist. We colored the image that was pre-stamped onto Chrome Coat paper (apparently the only kind of paper this will work successfully with) and colored one flower with a light color crayon (I think mine was tan). Then we rubbed distress ink all over the image and wiped it off with a paper towel. The white flower popped out! Stuck on a jewel, mounted on black, then the card, stamped BLOOM and done! Fast and easy.

Well, I hope I got all the instructions correct! It was all from memory, and that seems to be on and off these days! But we had fun, and got a LOT done for one day!