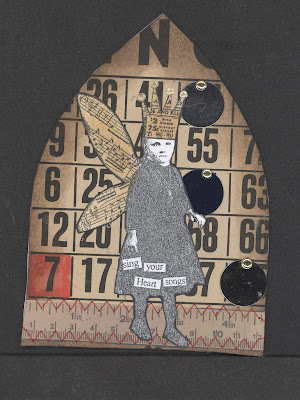
We had gone to the Dollar Store and found a bamboo placemat made of black bamboo tiles, so we cut it up and are using the tiles for making necklaces. This one is Therese's.
Marg'smine
. . .and mine. I needed "E" beads? But didn't have any so used these bigger beads. Have some now!
We used Modge Podge to stick the images on.
Then we went on to playing with embossing folders. Marg had a neat technique that we hadn't tried yet. . .
Double embossing
First, we need paper that had a white core. She put it through the Big Shot with the Swiss Dots embossing folder, and then lightly sanded the paper so the dots turned white. The she put it through again, but with the folder sitting on top to DE-emboss it. Now we have a flat piece of paper with white dots. Cool all by itself. But then she ran the same paper through the Big Shot again with the Holly embossing folder, and lightly sanded that. The holly popped right out! We tried it with a few more designs, some worked, some didn't. The Swiss Dots seems to be the best background for the image embossing folders. Lovely and fun!
Then. . .
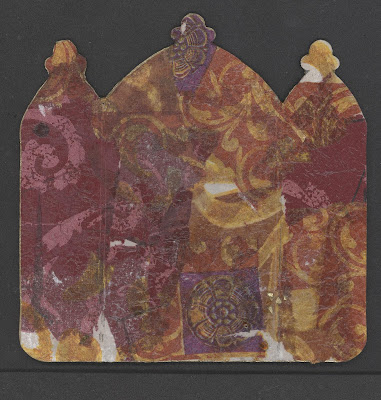
while at Michael's I bought these cute little chipboard books of a tryptich, or maybe a shrine - there were 5 pages to this book, for $1.50! Of course I bought them all (sorry Kingston) and will have great fun with them. So we took the book apart and each had one to work with. I folded my edges in, and Marg and Therese cut their edges off. We decided to cover them with torn pieces of some napkins we had bought on our trip to the Dollar Store, and we used Modge Podge.
the background is finished. I found some little golden bits and sprinkled them on - would the Modge Podge hold them?
Yes it did! Nice and strong so far! Now I can throw some more on there! I will keep you updated on the progress of this shrine!
And that was the end of our fun afternoon!
So the next day. . .
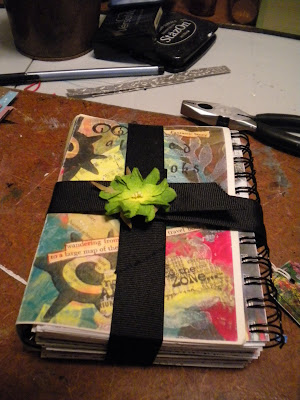
Therese brought her zutter with her - Yay! I have wanted to bind my Altered Book Club 10th Anniversary Book for a long time - about 200 pages that kept threatening to fall all over the floor every time I looked at it! So we divided it in half and bound each half, so now I have two books, AND it still fits in it's lovely cover that Corrine made!
Voila!!
Therese and I both had been thinking about the technique that Marg showed us yesterday, and started to think outside the box -what if. . .
we didn't have any white core paper?
So we embossed on green paper (not white core) and instead of sanding, we inked the raised parts with Distress ink, de-bossed it, and did the second emboss, then inked that with black. Cool! tried again with white paper, black below, and brown on top - looks rusty! Again - cool!
Well, what about if we. . .
painted white paper with acrylic (cheap) paint, and on the first embossing sanded it off, and on the second embossing rubbed with black ink (Staz-On or Memento-Black Distress wasn't black enough)-Cool!
Then. . .
What if we painted a coloured piece of paper? I chose a lime green (yuk-why do I even own this colour?) and tried again! Very cool! Easier to see on the green one. Also thought - we don't have to use black ink, do we? So we chose red Staz-On. Hard to see the diamond background that one, but it's there.
Well, Therese had to go, so our playtime ended, but wasn't that fun!!!
Can't wait until next year!!


